Thursday, February 13, 2014

Ella Tunic & Matching Bottoms


I saw an adorable tunic on a popular big name store's website last year and fell in love...until I saw the price.  I'm sure it was conservative compared to other boutique tops, but not for this Thrifty Thelma.  Whenever I see something cute that's beyond my budget, I've just GOT to MAKE it!!
So, I got my notebook, my measuring tape, and my scissors and made my own pattern similar to the design I saw online but with my own sassy flare. ;) Problem was...I only had a pattern size to fit Baby G at the time and I had no idea how and where and by how much to make it any bigger so that I could offer it as an OBBK outfit.   Until I found an adaptable pattern on Etsy!  Don't you just LOVE Etsy??!!  I get the best pattern downloads there!
Now I can FINALLY offer my favorite tunic and matching bottoms to you!


Here's what you need to know...
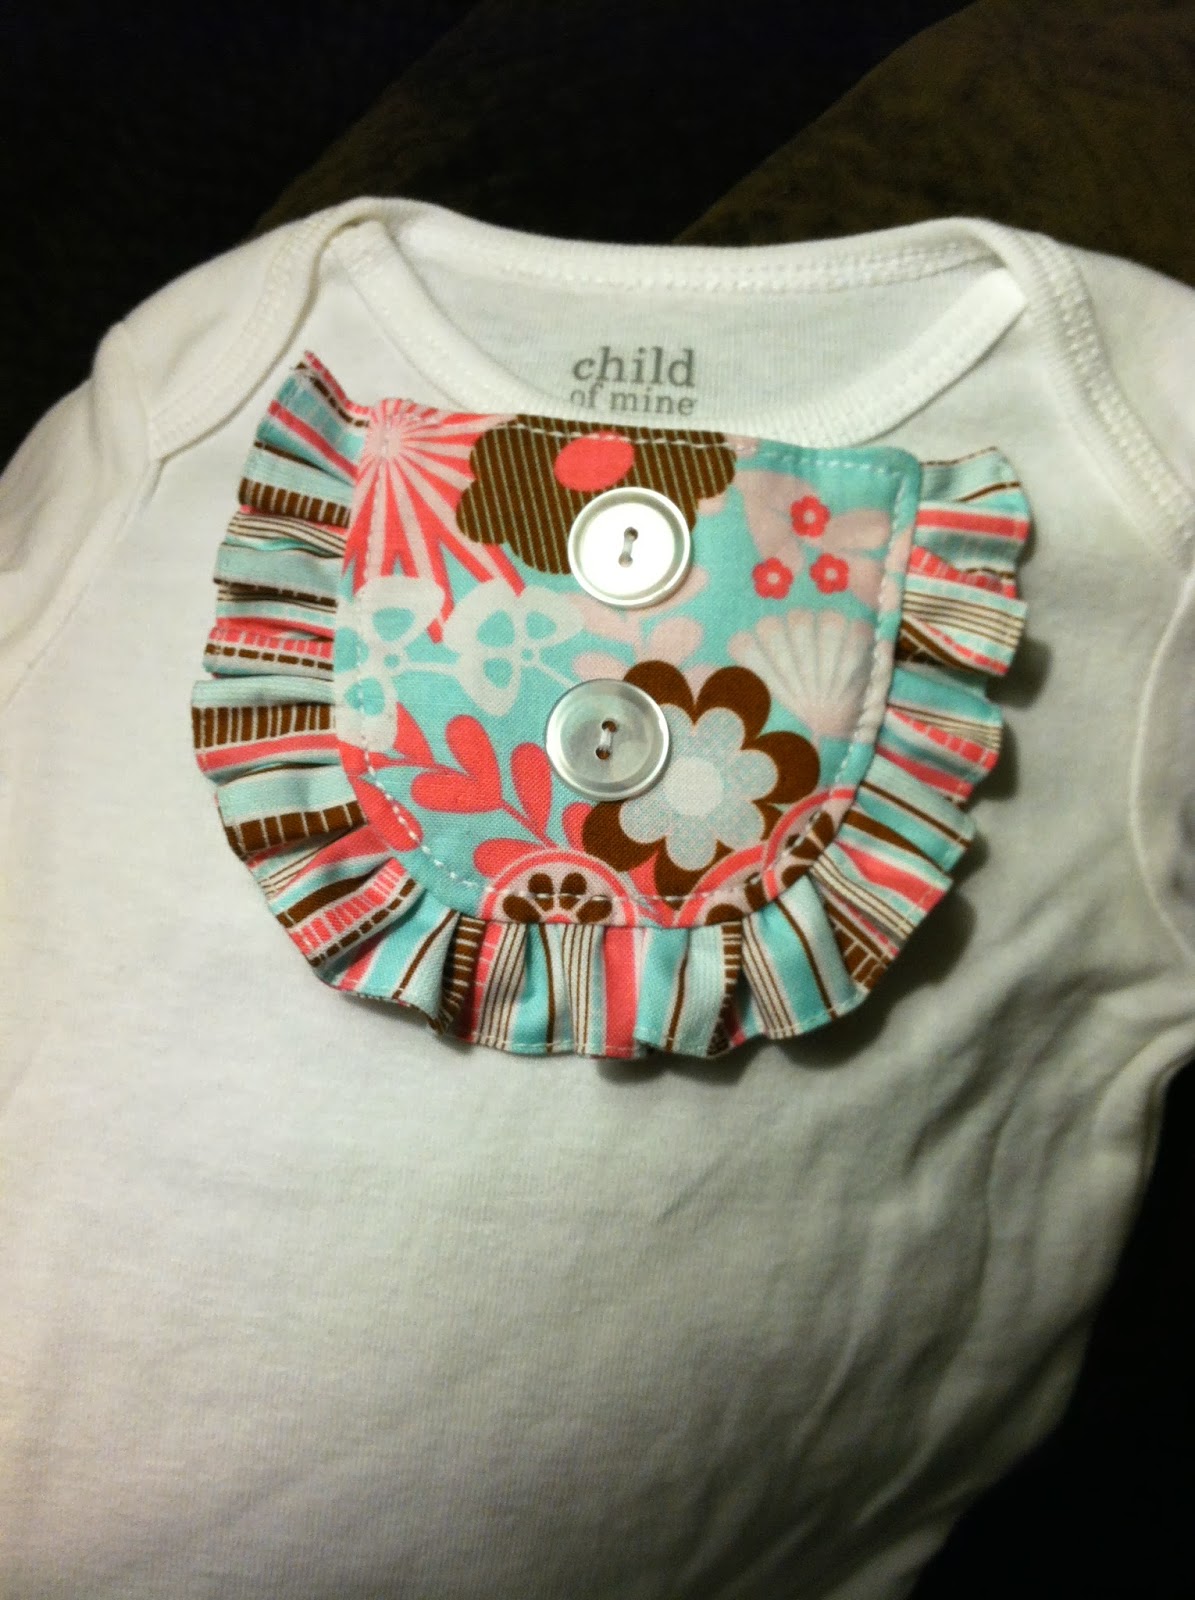
The fabrics on the left directly coordinate with the ones in Baby G's original outfit.  
The turquoise will be used in place of the teal.  
The multi-color will be in place of the birds. 
The pink will be used in place of the, well, pink.  ;)
The slit in the collar of the tunic will not be there.  I'm taking it out because it was showing a little too much cleavage.  Haha!
If you'd like one, you have until March 15, 2014 to order.
Sizes are available in 3m to 8y.  
3m -3t are $45 each
4t - 8y are $55 each
Comment below or email me directly to order.  

Monday, February 3, 2014

Chevron Quilt

A few months ago, I had all these adorable flannel receiving blankets from Baby G's swaddling days that I didn't want to get rid of, mainly because of their cuteness factor.  But I had no idea what I wanted to do with them...until I saw a fabulous chevron quilt on Etsy!  Then my wheels began a'turnin...
So, I got out a notebook and pencil and sketched out my design and coded all the fabrics so that I knew exactly what fabric went where.  
Then I cut those cute little blankets into 5" blocks, cut them in half diagonally, and arranged them in the order I needed to sew them. 

Since I took my sweet time and only worked on it on lazy Sunday afternoons (hey, talent-building is considered a wholesome Sunday activity, right??) it took me a few months to get the top layer done.


After I sewed all the blocks into strips and the strips into the top layer, I laid out my backing fabric, then two layers of quilt batting, then the top quilt layer and cut everything to size.  (One reason I'm not big fan of quilts is that they're always so thin.  I like a big, snugly, chunky blanket...hence the two layers of quilt batting.)
So, next I pinned it and sewed up the edges to keep it all in place.

 Then I ditch-stitched chevron seams, slapped on a satin blanket binding, and that baby was DONE!

 Really, the last few steps, after putting all the blocks together, only took me a few hours (days, considering this was done in my spare time).

So, now Baby G has her own Toddler Bed Size Quilt!  :D

A neighbor friend and I are currently starting her own Upcycled Receiving Blanket Chevron Quilt for her daughter.  I'll try to make a tutorial in the process of it all then post it on here.  :D

Sunday, January 19, 2014

Rice Buddies

Funny story...The Hubs had a great idea to fill one of our stuffed animals with rice.  Bro A had destroyed two of the rice buddies we use to help keep the kiddos cozy in the winter time.  I'm not getting into the how's or why's of what happened.  Let's just say...he's a 5 year old boy.  ;)
So, instead of making another standard-size/shape rice buddy, The Hubs says "well, why don't you just fill one of his stuffed animals with rice instead?"  I know.  I married a genius.  (Does that make me a genius for marrying him??  We'll just say it does.)  Bro A hears our little convo and instantly goes in search of the perfect stuffed animal to de-stuff and refill with rice.
Our findings?  A Tigger that someone got for Baby G, and a snake Bro A won at the county fair.
(Please note:  If you want to destuff your own stuffed animal to fill with rice, look for one without any plastic parts, as they will melt [or worse!] in the microwave.)

Tigger was a success!


...the snake...not so much...


I guess, when I was patching and filling the carnival snake, I failed to realize that it had been sewn together with plastic thread.  After all, who uses PLASTIC thread???  Anyway, it melted in the microwave and rice came spilling out in a big HOT mess when I took it out.  :(


...So, that's what gave me the idea for this little guy.


Made with my own COTTON thread and fabric.  Haha!  It holds more rice, anyway.

Wanna make your own?  How about a pattern (with instructions)?  You're welcome!


Enjoy snuggling with your cozy new friend!


Saturday, November 23, 2013

Giveaway Winners

It's Giveaway time!! 


Of the list of names I have of people who have "Liked" my OBBK Facebook Page, shared the photo of the item they want to win, and commented what size they need, Kayla Lasley won the dress and Carrie Moncrief won the bowtie!
Congratulations, Ladies!!  We will be in touch.  :)

Wednesday, November 20, 2013

{Practically} Free Fancy Necklace Organizer

I asked my hubs to get a jigsaw for our anniversary.  What can I say?  I'm a hopeless romantic. Haha.  Ever since, I've been anxious to find a reason to use it.  Today, the opportunity finally arose!  While I was cutting down some shelving, I got the hankerin' to do something shmancy with my jigsaw and I decided I would do something about the fact that my long necklaces don't fit in my jewelry box.
So here's my tutorial for my Fancy Necklace Organizer...

Materials List:
MDF board about 1/2" thick
Jigsaw
Fancy frame template
Spray paint (in the color of your choice)
Newspaper (for overspray)
1/2" finish nails
Hammer
Ruler or Measuring Tape
Ribbon
Hot glue gun


1.  Grab your template and trace around it onto your MDF board.  I found my MDF in the To-Be-Burned pile in the construction site next door to my house. (I've actually been able to score a ton of wood worthy of the coolest projects this way!)  I found the template in the online Silouette store and printed it on two sheets of paper, taped them together and cut them out.  


2.  Cut out the shape you just traced with your jigsaw.  (Or, if you want to make it easier on yourself, you can just go buy a fancy plaque at Hobby Lobby.  But then this project wouldn't be {practically} free would it?)  I had room on my board to cut out two, so I used one for my necklaces and the other for Baby G's hairbows.  


3.  Sand away the imperfections around the sides and on the face, then spray paint with your favorite color.  You may need to give it 3-4 coats.  Mine was good with 3. 


4.  With a ruler (or measuring tape), Mark the places you want to place the nails to hang your necklaces on.  I spaced mine 1-1/2" apart with 7 on the top row and 8 on the bottom row so that they lined up perfectly offset (does that make sense?). 


5.  You may need some needle-nose pliers to help with the next step.  In each spot you marked, hammer in a 1/2" finish nail so that half of the nail is still sticking out.  


6.  When you're done hammering in all the nails, turn it over and glue a ribbon to the back to hang it with.  

(Forgot to take a picture of this step!)


7.  Hang your finished Fancy Necklace Organizer & fill it up!


*Note* My organizer was free because I was able to make it out if scraps I had laying around the house.  Your organizer may be PRACTICIALLY free if you don't have one or more of the materials listed above.  

Thanks for stopping by my blog!

Tuesday, November 19, 2013

Like/Share Giveaway!!

I'm a sucker for free stuff and I'm sure, judging by the consistent popularity of other such giveaways, that you are, too!  So, you can imagine my excitement when I found myself with something to give away...just in time for Christmas, no less!!

Here is what I'm giving away...  One Girls Christmas Dress (with matching headband), available in Newborn through size 6.


AND one Boys Christmas Bowtie, any size.


All you have to do is "Like" my Facebook Page, share the photo of the one you want (dress or bowtie) on YOUR Facebook page, and comment on the photo you want to win with the size you'll need.  Easy peasy?  I thought so.  :)

Winners will be announced on both my blog and on my OBBK Facebook Page on Saturday, November 23rd!

GOOD LUCK!

Friday, November 15, 2013

Boy or Girl?

Ah, finally, I can post about this onesie!  The suspense has been killing me.
Some friends and I have been planning a gender neutral surprise baby shower for a friend who is waiting to find out the sex of her baby.  One of the things we all did was make adorable onesies for the new babe.  And since the baby shower was this morning, I can finally share!

As soon as I was given the blank, white onsie, I knew exactly what I wanted to do with it...and I already had the perfect fabric for it (thanks to my girl, Amy, over at Joey Dresses)!

I wanted to create something that would be all boy for the snips & snails or could instantly change to all girl for the sugar & spice.  The resulting onesie ended up with snap on ruffles and a snap on bowtie!


 For the bowtie I used this tutorial over at One Young Love.  I love her tiny bow ties tutorial because its so easy to follow and she tells you exactly what you need.


The snap-on ruffles are my own little creation.  Sorry, I have no tut to share for this one.  If I make another, I will be sure and post a little tutorial for it.


My favorite part in that they're interchangeable and it wouldn't be terribly hard to make a few more tiny bow ties if it is a boy.  ;)